
 EN
EN
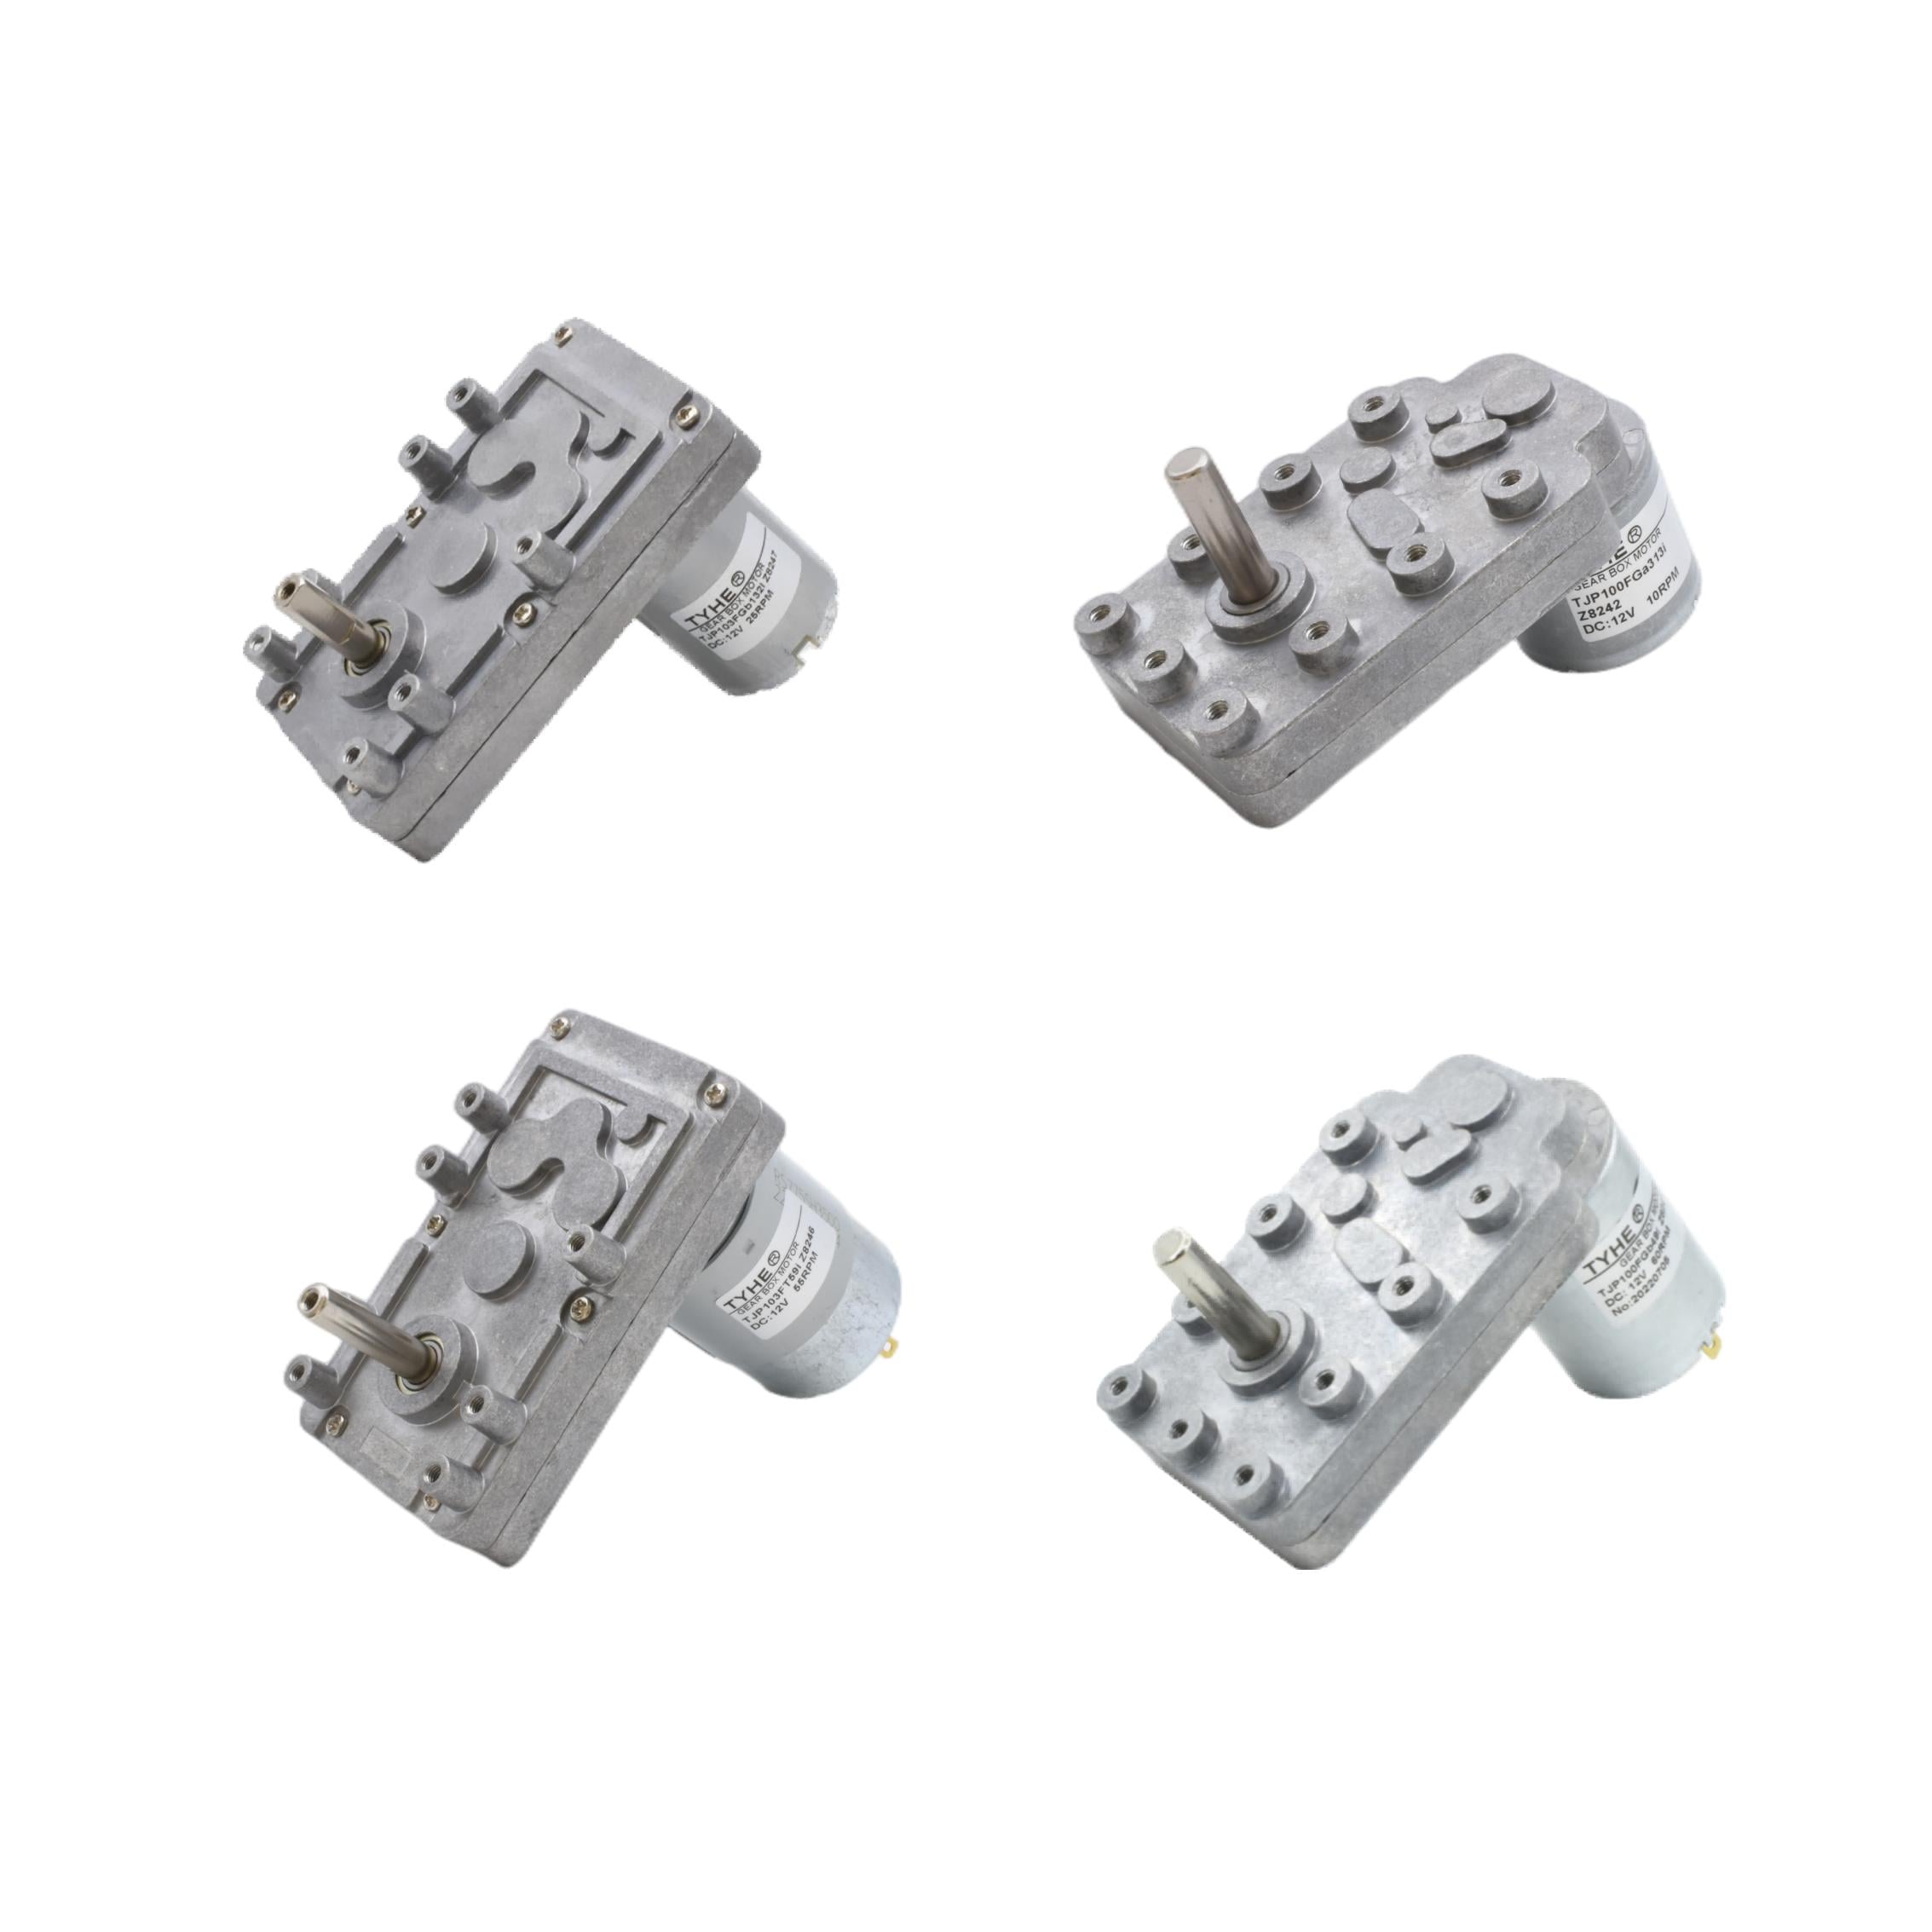
Wiring a 12v dc motor correctly is one of the most fundamental skills for anyone working in robotics, automation, DIY electronics, or small machinery. Whether you are connecting a 12v dc motor for the first time or troubleshooting an existing setup, understanding the wiring process step by step ensures safe operation, consistent performance, and long motor life. A poorly wired 12v dc motor can overheat, run erratically, or damage connected components, so doing it right from the start matters greatly.
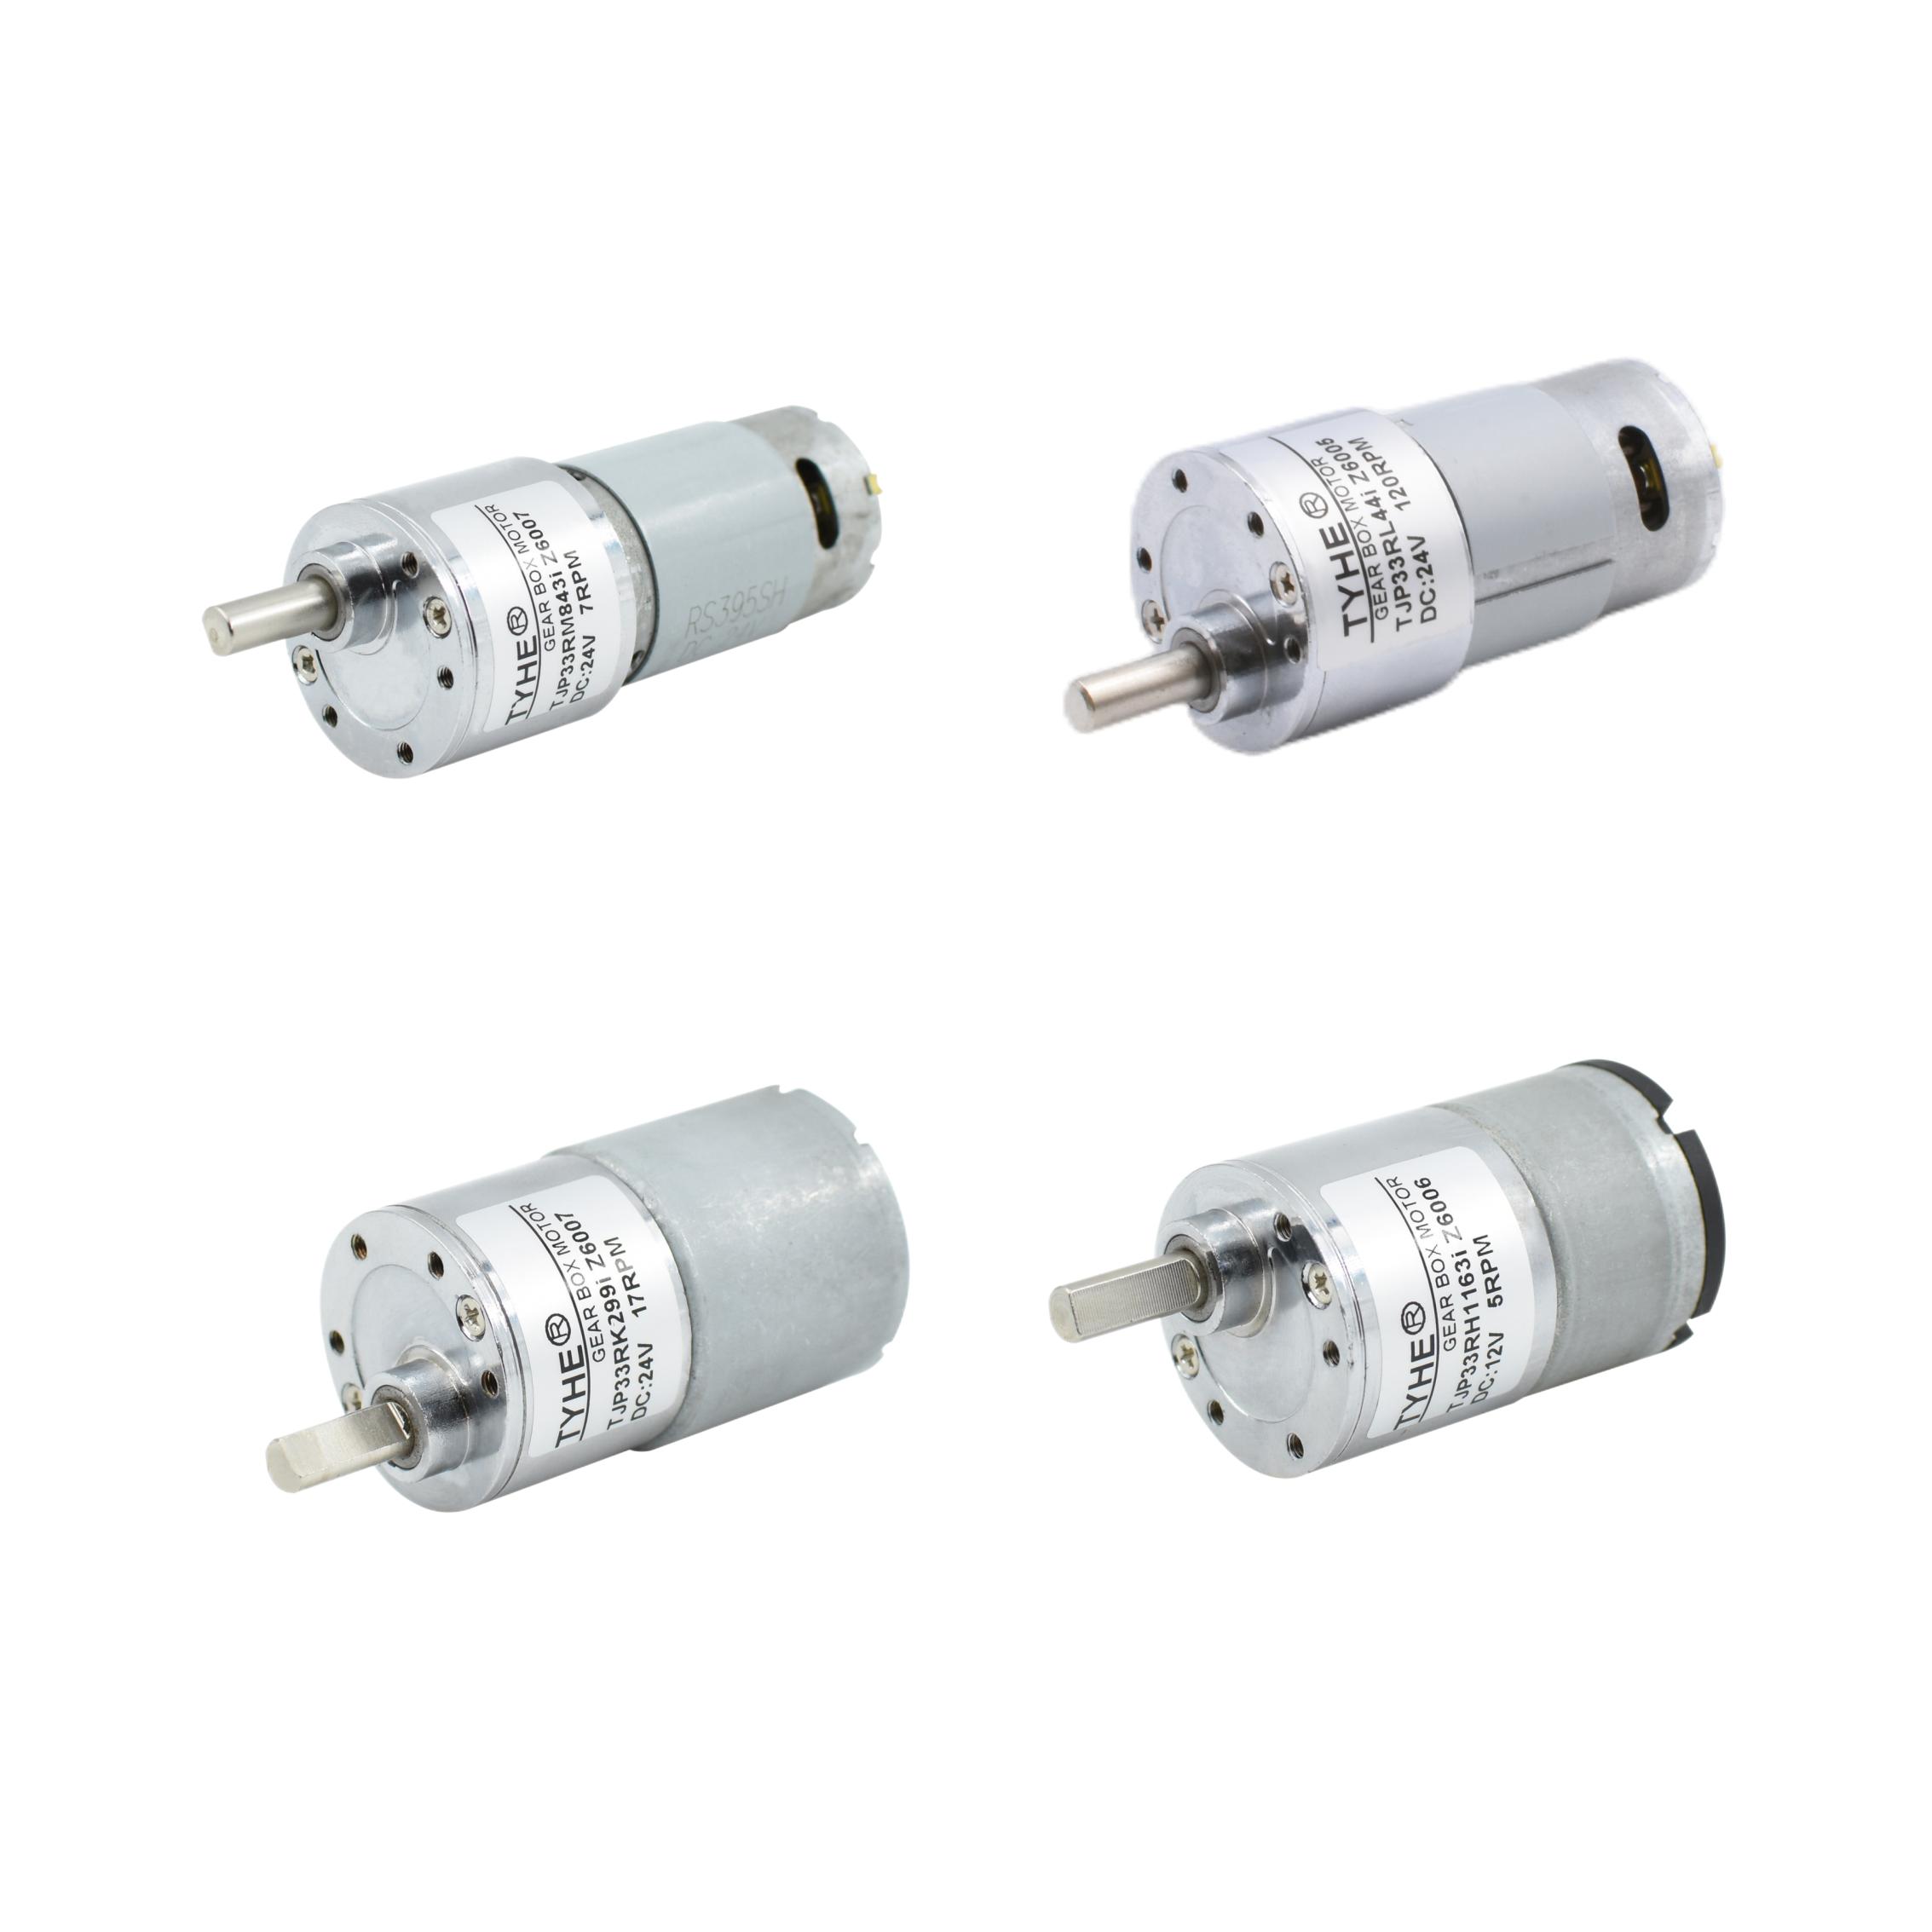
This tutorial walks through the complete wiring process for a 12v dc motor in a clear, practical sequence. From gathering the right tools to making secure terminal connections and testing the 12v dc motor under load, every stage is explained with industrial and hobbyist contexts in mind. By the end of this guide, you will be confident wiring a 12v dc motor in a wide range of applications, including electric bikes, conveyor systems, small pumps, and automated gates.
Tools and Components You Need
Essential Materials for Wiring a 12v dc motor
Before you begin wiring a 12v dc motor, gather all necessary tools and components. You will need a 12v dc motor, a 12-volt DC power supply or battery, appropriately rated wiring cable, a fuse or circuit breaker, wire strippers, a soldering iron or terminal connectors, electrical tape or heat-shrink tubing, and a multimeter. Using the correct wire gauge is critical because a 12v dc motor draws varying current depending on its power rating. For most small 12v dc motor units rated under 100W, 18 to 16 AWG wire is sufficient. For higher-power 12v dc motor applications, use 14 AWG or thicker to prevent excessive resistance and heat buildup.
Choosing the Right Power Supply
Matching your power supply to the 12v dc motor specifications protects both the motor and the driver circuit. Check the stall current rating on your 12v dc motor datasheet, then select a power supply capable of delivering at least 20 to 30 percent more amperage than the rated current. This headroom prevents voltage sag when the 12v dc motor starts under load. A regulated DC power supply is preferred over a raw battery for bench testing because it offers stable voltage output and current limiting, which helps protect the 12v dc motor during initial wiring verification.
The Step-by-Step Wiring Process
Identifying the Motor Terminals
A standard 12v dc motor has two main terminals: positive and negative. These correspond directly to the supply voltage polarity. Connecting the positive terminal of the 12v dc motor to the positive rail and the negative terminal to the negative rail causes the motor shaft to spin in one direction. Reversing the polarity makes the 12v dc motor spin in the opposite direction. This is a fundamental characteristic of the 12v dc motor that differs from AC motors. Before making any connections, label your wires clearly and double-check the terminal markings on your specific 12v dc motor model.
Some 12v dc motor units also carry brush leads, encoder wires, or feedback sensor connectors alongside the power terminals. Do not confuse these signal wires with the main power leads. Connecting a sensor wire to the 12v dc motor power supply will immediately damage the 12v dc motor's internal electronics or the sensor itself. Always consult the wiring diagram supplied with your 12v dc motor before proceeding.
Making Secure Electrical Connections
Strip approximately 10 mm of insulation from each wire end before connecting to the 12v dc motor. Twisted-strand wire works best for flexible applications. Soldering the connection at the 12v dc motor terminal provides the most reliable bond and lowest resistance. If soldering is not available, use crimp-style ring or spade terminals rated for the current your 12v dc motor draws. Always tighten terminal screws firmly on the 12v dc motor because loose contacts cause arcing, voltage drop, and premature wear of the motor brushes.
Install a fuse rated at 125 to 150 percent of the 12v dc motor's rated current in series with the positive supply wire. This fuse protects the wiring and the 12v dc motor from short-circuit faults. Place the fuse as close to the power source as possible, not near the 12v dc motor itself. Wrap all exposed connection points with heat-shrink tubing for mechanical protection and insulation, especially in environments where the 12v dc motor is exposed to vibration, moisture, or dust.
Wiring a 12v dc motor With a Motor Controller
In most practical applications, a 12v dc motor is not wired directly to a fixed supply. Instead, a motor controller or PWM driver sits between the power source and the 12v dc motor. The controller allows speed regulation and soft-start protection. Connect the power input terminals of the controller to the 12V supply, then connect the controller's motor output terminals to the 12v dc motor's positive and negative leads. Following the controller's manual is essential because wiring a 12v dc motor to the wrong controller terminals can destroy the driver stage instantly.
Many PWM controllers also have a signal input for speed commands from a microcontroller or potentiometer. These signal wires are separate from the 12v dc motor power circuit. Keep signal wiring away from the 12v dc motor power leads to minimize electromagnetic interference, which can cause erratic speed behavior in the 12v dc motor or corrupt control signals in sensitive circuits nearby.
Testing and Verifying the Wiring
Pre-Power Continuity Checks
Before energizing the circuit, use a multimeter set to continuity mode to verify that no short circuit exists between the positive and negative wires connected to the 12v dc motor. If the multimeter beeps, check for exposed wire strands touching each other or a terminal that has been incorrectly bridged. A healthy 12v dc motor circuit will show no continuity between the supply rails with the 12v dc motor connected. This check takes less than one minute but prevents damage that could permanently destroy your 12v dc motor or the controller.
Initial Power-On and Load Testing
Apply power at a reduced voltage first if your supply is adjustable. Ramp the voltage up slowly while observing whether the 12v dc motor shaft spins smoothly, whether it produces unusual noise, and whether the current draw matches the expected no-load current listed in the 12v dc motor specification sheet. Excessive current at no load often indicates an internal short in the 12v dc motor or reversed brush tension. Once the 12v dc motor runs smoothly at no load, apply the intended mechanical load and recheck current draw. The 12v dc motor should remain within its rated continuous current limit. If the 12v dc motor overheats or draws excessive current under load, review the wire sizing, supply voltage, and controller settings before continuing use.
FAQ
What happens if I reverse the wires on a 12v dc motor?
Reversing the positive and negative wires on a 12v dc motor causes the shaft to spin in the opposite direction. This is a normal and safe operation for a standard brushed 12v dc motor. It does not damage the motor unless it is a brushless 12v dc motor wired to a phase-specific controller, in which case incorrect phasing can damage the driver.
Can I run a 12v dc motor without a controller?
Yes, a 12v dc motor can run without a controller if you only need fixed-speed, fixed-direction operation. Simply connect the 12v dc motor terminals directly to a 12-volt supply through a fuse and switch. However, using a controller with a 12v dc motor adds the ability to adjust speed, enable soft-start, and protect against overcurrent, which greatly extends the 12v dc motor's service life.
What wire gauge should I use for a 12v dc motor?
Wire gauge depends on the current draw of your 12v dc motor. For a 12v dc motor drawing up to 5A, 18 AWG is adequate. For a 12v dc motor drawing between 5A and 15A, use 16 to 14 AWG. For high-power 12v dc motor installations drawing over 15A, choose 12 AWG or thicker to minimize resistance, voltage drop, and heat generation in the wiring harness.
